
Product photography is a part of commercial photography that captures products in its best photographic representation for fashion eCommerce.
A survey from Weebly shows that 75% of online shoppers find product photography highly influential in their purchasing decisions.
And as eCommerce continues to expand each year, the value of high-quality & professional product images will only grow. These will not only help a product stand out but also significantly impact a brand’s bottom line.
So, Are your current brand images compelling enough?
Let’s explore how these seven types of product photography can develop a well-rounded visual strategy for your fashion eCommerce store to stand out and boost its sales.
What is Product Photography?
Product photography is a form of commercial still-life photography that focuses on capturing well-composed images of products for advertising, marketing, and eCommerce.
It often features a simple, uniform background that helps customers focus on the product without distractions.
In a customer experience survey conducted by Digital Commerce 360 in September 2021, 35% of 1000 respondents said that lack of product images was one of the frustrations they had experienced in the past six months with fashion ecommerce sites.
So, it’s highly recommended that eight images for each product be provided, allowing customers to view it from various angles.
But, even with correct lighting and angles, presenting clothes perfectly can be challenging due to creases, wrinkles, and fabric bunching.
To overcome these challenges and enhance product presentation, partnering with a professional product photo editing service can provide a seamless, end-to-end solution for your store.
7 Types Of Product Photography For Fashion eCommerce
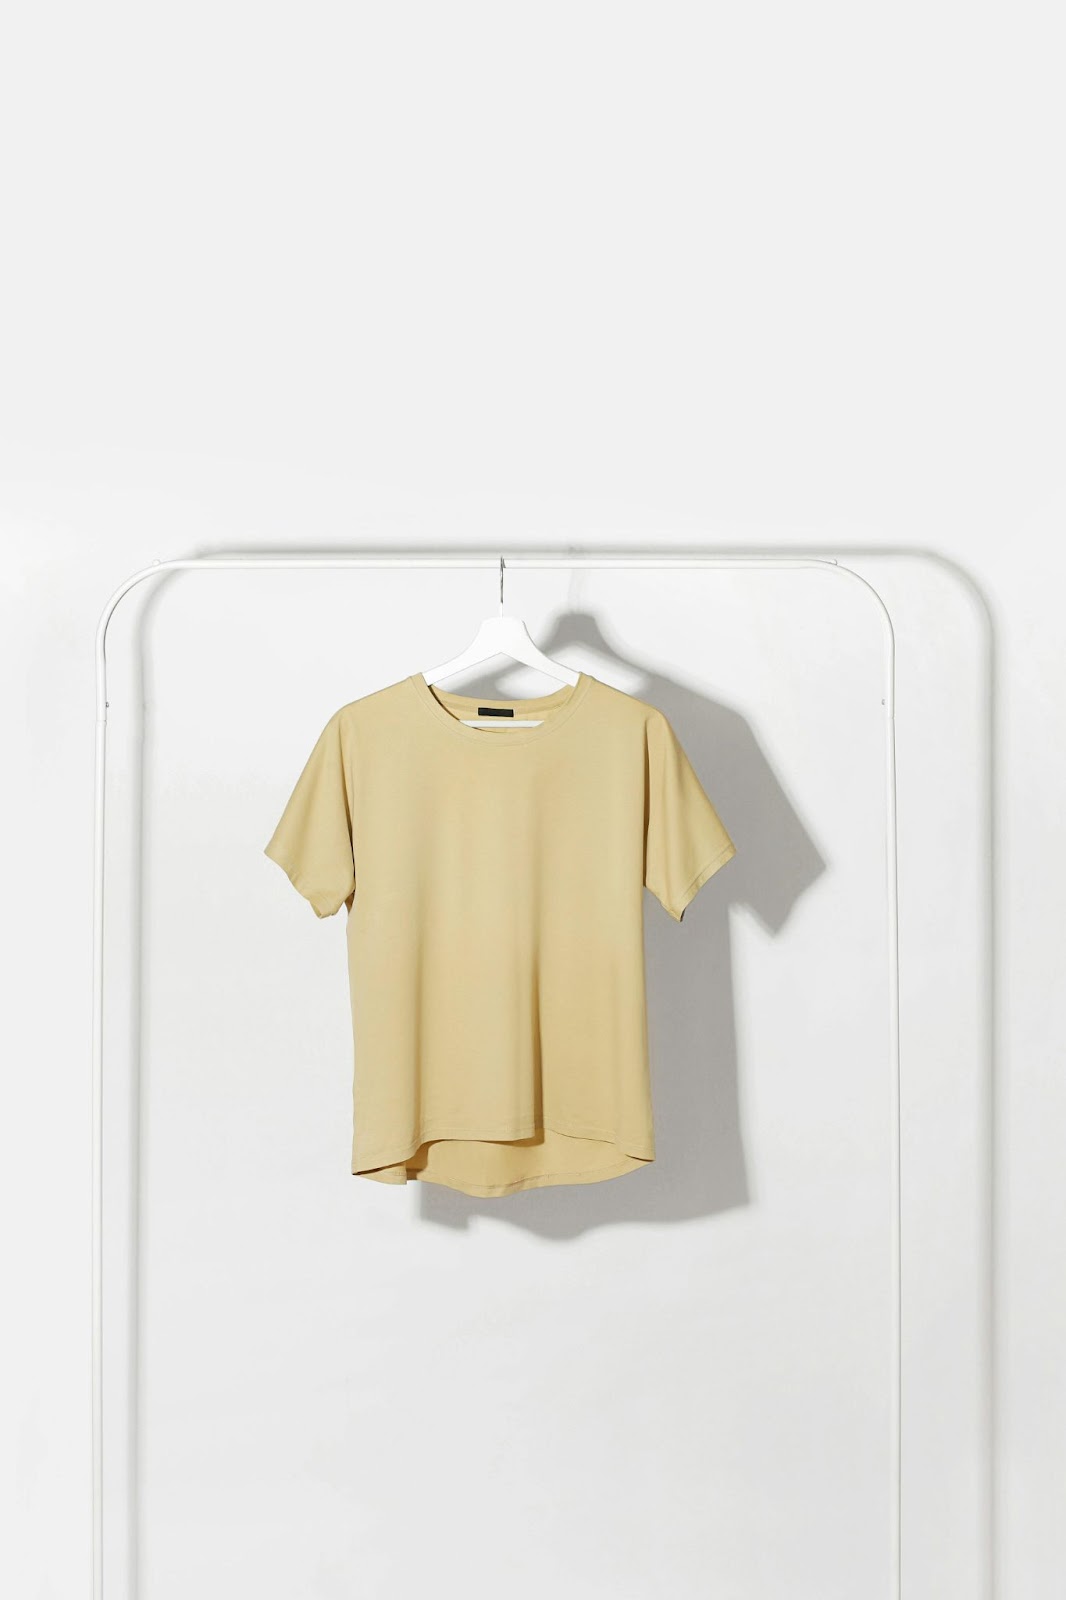
Individual
The individual shot is one of the most widely used types of product photography. It contains only one product in the frame.
It is often featured in product catalogs, banner images, and product pages to showcase individual products independently from the full collection. It’s a solid-colored background, usually white, featuring the product on its own.
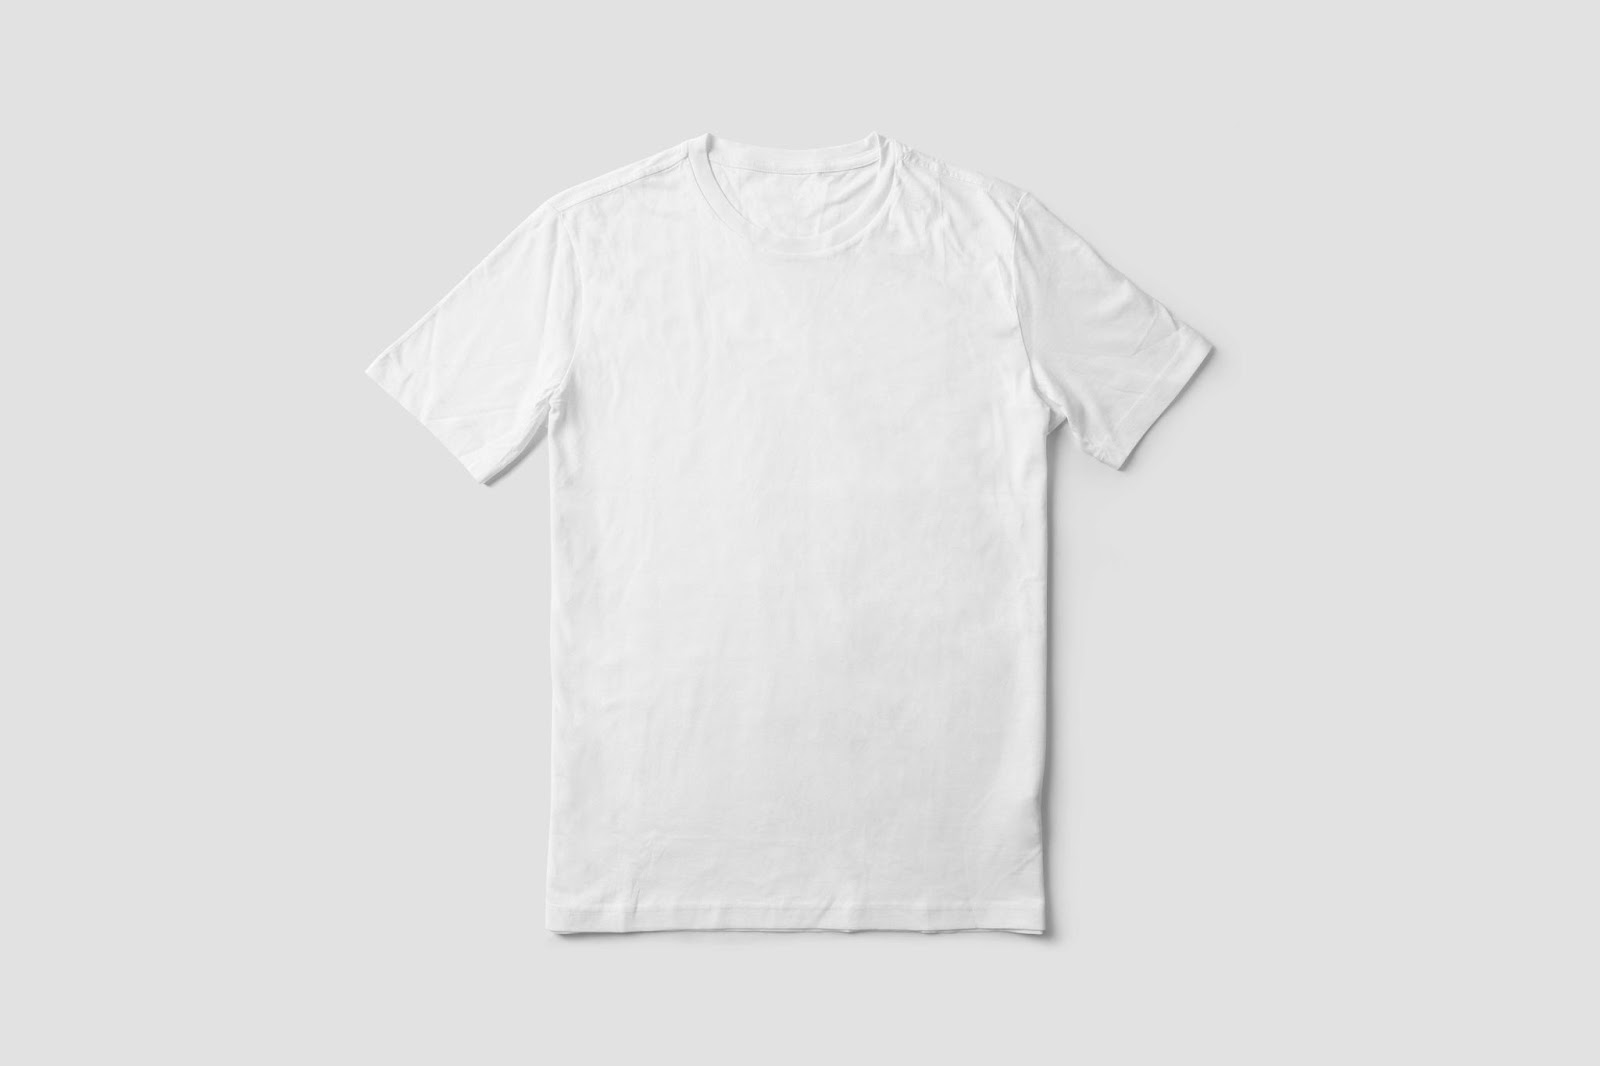
White Background
White is often the best backdrop for fashion eCommerce photography because it eliminates any chance of clashing colors or patterns, making it ideal for showcasing a wide range of styles.
This photography style is not just about aesthetics but communicating the value and features of a product to potential customers.
That’s why platforms like Amazon, Etsy, and eBay specifically require sellers to use white backgrounds, as it’s the preferred choice for eCommerce.
Flat Lay
Tabletop or Flat Lay shot is popular amongst fashion eCommerce brands. In this technique, a product is placed flat on a table, and the camera is positioned directly above it for a bird’s eye view.
While versatile enough for many products, this shot offers ample creative opportunities from different backgrounds to prop placements for specific campaigns.
Hanging
Hanging shot is a technique where clothes or accessories are hung, often using invisible wires, hooks, or hangers to create a ‘floating’ effect. This method allows the items to maintain their natural shape and structure.
Soft, consistent lighting is used to highlight the fabric’s texture, colors, and details. Invisible support tools or post-production editing ensure a clean, professional presentation.
Multiple angles are often captured in eCommerce photography to give a complete view of the garment, along with close-up shots of finer details.
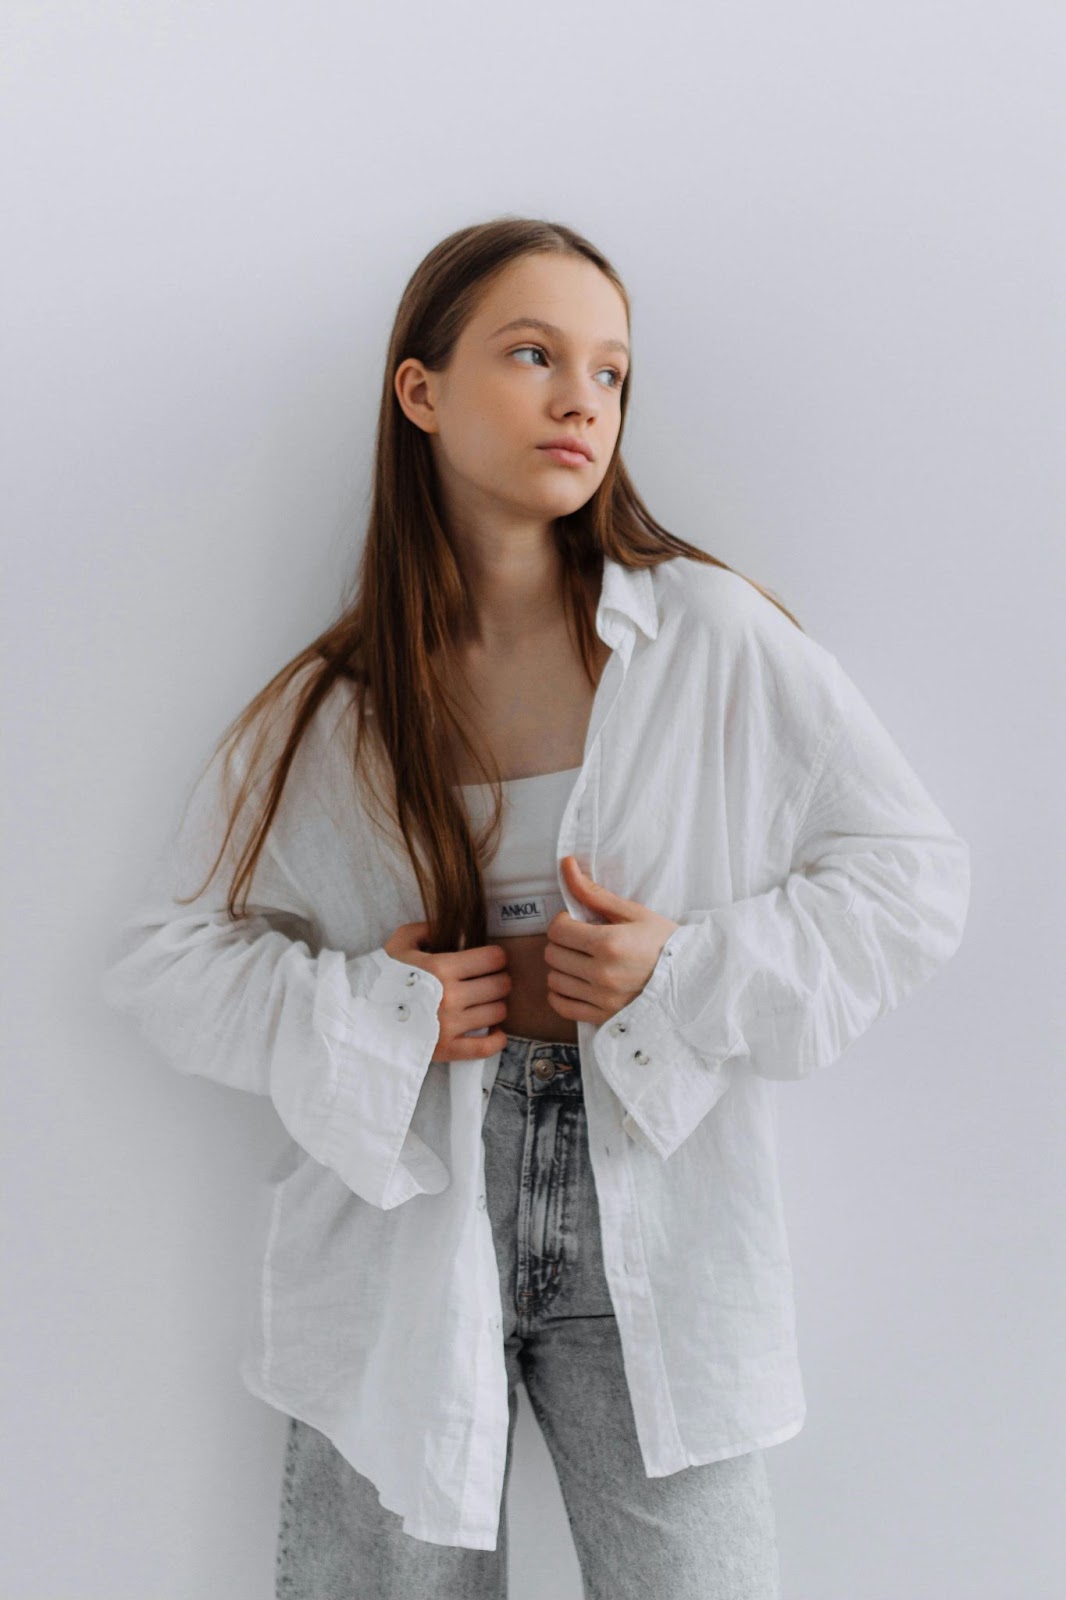
Models And Mannequin
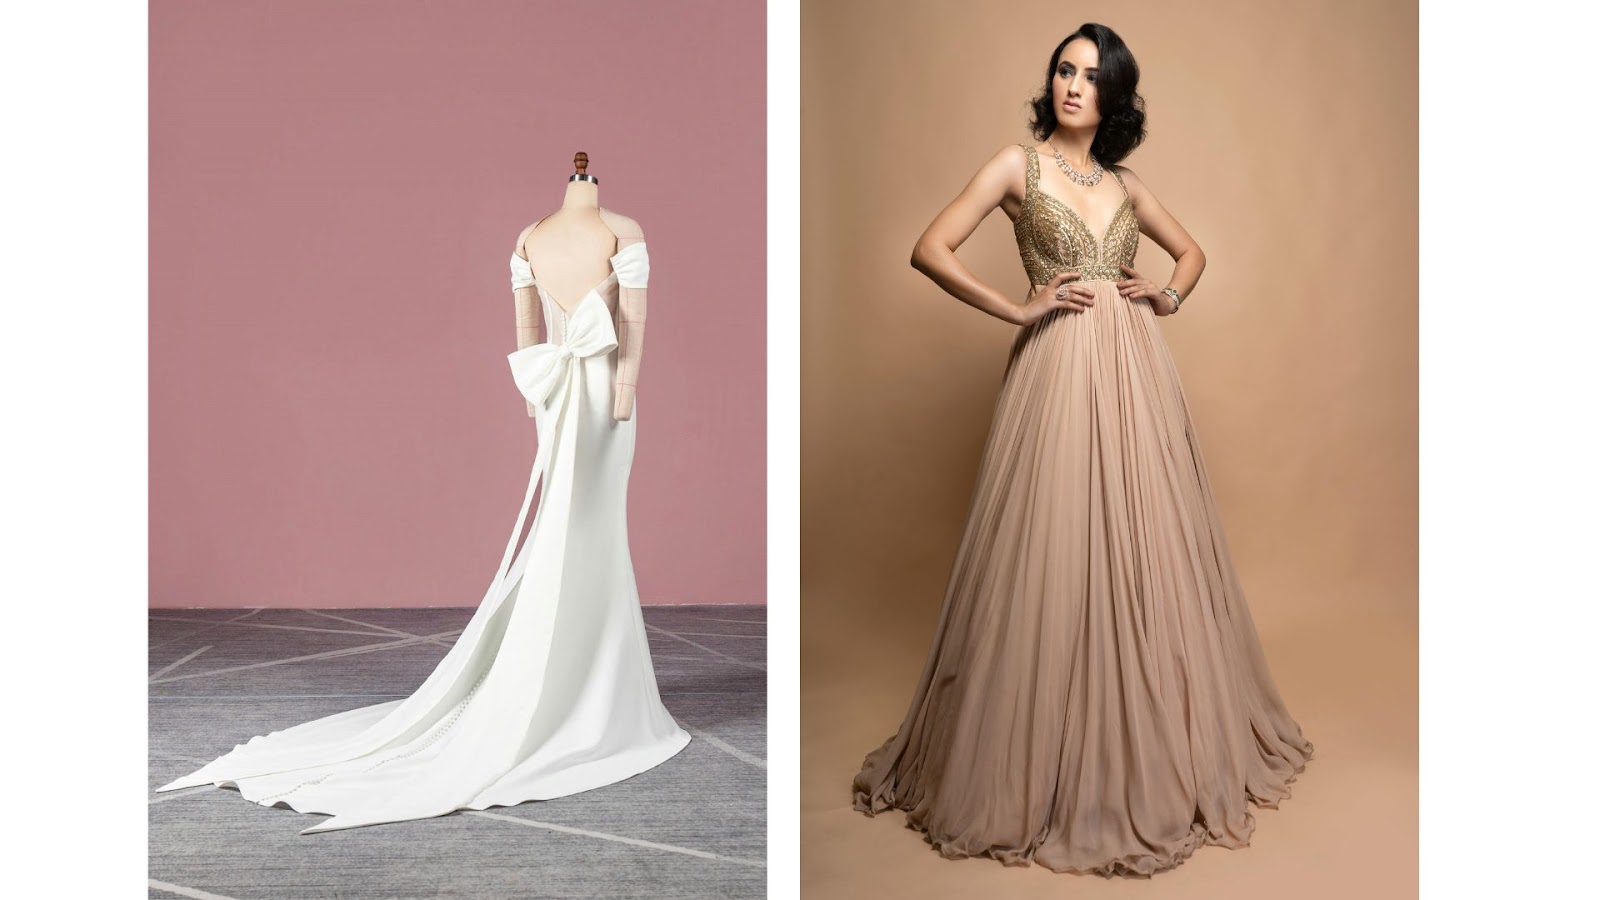
Model And Mannequin shots are another great way to show the volume of a product and are the best option for clothing photography.
It can be hard to tell exactly how a product will fit when you can’t try it online, but modeling the garment on an actual human can be a big help. The goal is to show how the clothing looks when worn by a real person, highlighting its fit, movement, and overall style.
In addition to the increasing demand in eCommerce, the mannequin is removed in post-production editing what’s called an invisible mannequin effect. Ghost mannequin service creates a clean, detailed view of the clothing from all angles.
Lifestyle
Lifestyle shot captures people using products in real-life situations, showing them in everyday settings. These product photos are usually shot in natural light, giving context to colors, fits, and styling options.
Often called candid shots, this type of photography allows shoppers to picture the products in their daily lives. Examples include models using gadgets at home or wearing clothes during different activities to show how they might look on you.
360°
A 360° shot lets customers rotate and look at a product from every angle. This interactive feature helps them better appreciate the product’s design and functionality.
It’s perfect for clothing that has detailed textures, fabrics, patterns, and cuts. You can also use 360-degree turntables to capture photos or videos of models and accessories interestingly.
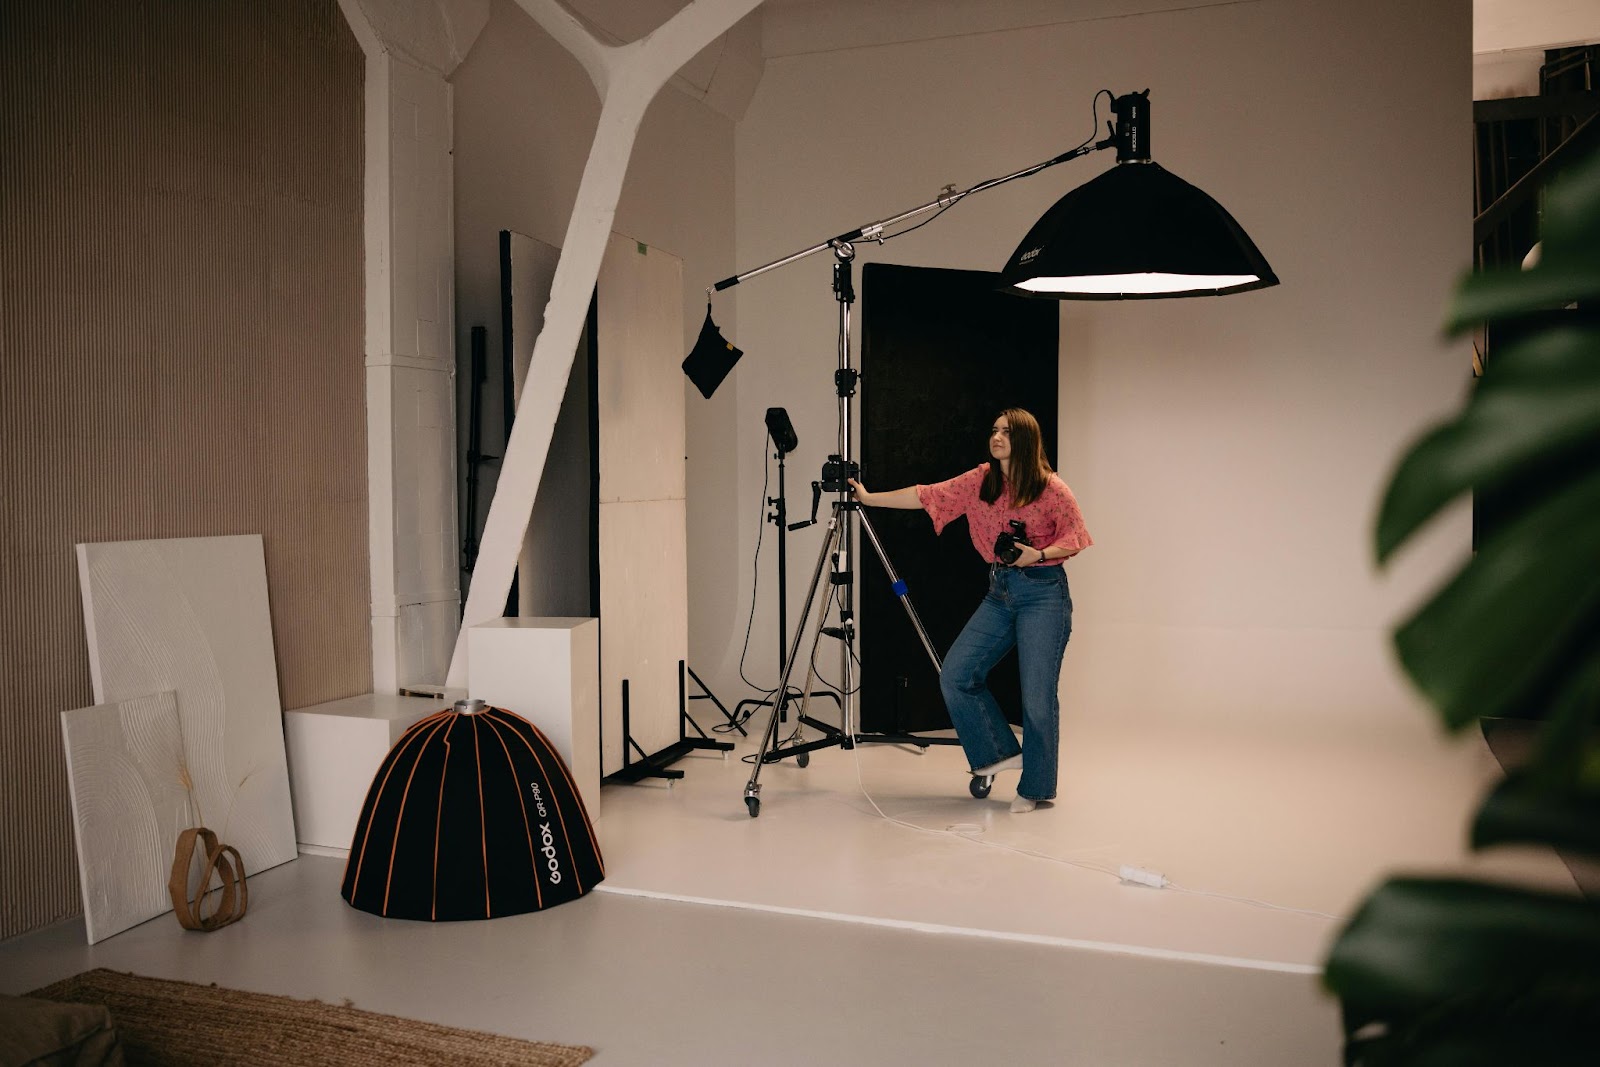
Steps To Photograph Products for Your eCommerce Store
Once you know the types of how you want to display your clothing line, it’s time to hit the photography studio.
Choose The Location
If it is not an in-studio shoot, plan the time and location of your photoshoot carefully. While lifestyle shots can be taken anywhere with natural light, two key factors to consider are the time of day and where the sun is relative to your shooting location.
The golden hour around sunset produces warm tones, while the blue hour just after sunset offers cooler shades.
Be mindful that tall buildings or dense trees can significantly impact the amount of light available for your shoot.
Set Up the Background
Selecting the right background keeps the focus on the product and enhances its visual appeal. For most fashion eCommerce, white background works best as they prevent distractions and allow the clothing or accessories to stand out.
Whether you opt for studio backdrops or natural outdoor settings, ensure the background complements the product without overshadowing it. It helps create a seamless and polished final image for your website.
Adjust The Lighting
Achieving high-quality product photos depends on excellent lighting. While it may require some effort to set up, proper lighting significantly enhances your images, saving you time in post-production with fewer edits needed.
For product photography, you typically have two lighting options: natural light and artificial light.
If you’re working with a limited budget, natural light is the most cost-effective choice. It is especially for outdoor shoots or lifestyle photos with a model.
On the other hand, if you can invest in studio lighting or need to shoot at times when natural light isn’t ideal, artificial lighting may be the better option.
Once you have your lighting setup just right, make sure to document the positioning and camera settings so you can recreate a consistent look for different photoshoots.
Place The Product Rightly
Now it’s time to showcase your product.
While it may seem straightforward, arranging your product often requires a few attempts to perfect the angle, lighting, and positioning. Place your product in front of the backdrop, ensuring it’s centered and resting on a flat, stable surface like a table or chair.
For clothes, using display hangers or mannequins can help present the product more effectively. If your item has labels or unique designs, take extra care to adjust it until it is perfectly centered for the best visual presentation.
Set Your Camera
Both DSLR and mirrorless cameras offer manual and aperture-priority modes for complete control over your images. Manual mode lets you adjust the aperture, focus, and shutter speed to meet your exposure needs.
The aperture influences the amount of light entering the camera and determines the depth of field, affecting how much of the image is in focus. Shutter speed refers to how long the camera’s shutter remains open: faster speeds capture the action, while slower speeds create motion blur.
These settings are crucial when photographing garments in varying colors, as they interact differently with light.
Aperture priority mode allows you to select the aperture while the camera automatically adjusts the shutter speed for proper exposure. It makes an excellent choice for beginners or those seeking a smoother workflow.
Smartphone users can adjust exposure and focus through their camera app settings to optimize lighting and focus for their shots.
Take Multiple Photos
Place your camera on a tripod to minimize camera shake. Select your preferred shooting mode to begin capturing images. You can achieve focus manually using the lens, or rely on the autofocus feature by pressing the shutter button halfway before taking the shot.
Capture multiple images of each item from various angles, rotate the garment, and include close-ups.
Showing the texture of your fabrics and different sides will reduce the return rates for your brand.
Outsource For Post Production
After your photoshoot, collaborate with a professional retouching partner who understands your style guide to ensure consistent editing that aligns with your brand identity.
When managed effectively through a thorough review and selection process, outsourcing image editing can not only save you money but also enhance your image quality and expedite the online presentation of your product images.
Getting Started With The Next Step
Now, you have a toolkit of product photography types to revamp your fashion eCommerce store,
hire a professional photographer and identify the leading source of your high eCommerce conversion.
Then, collaborate with a photo editing partner to address minute photography issues and enhance product photos for effective presentation.
You don’t need to implement all these types at once; it might take some trial and error to find what works best for your brand.